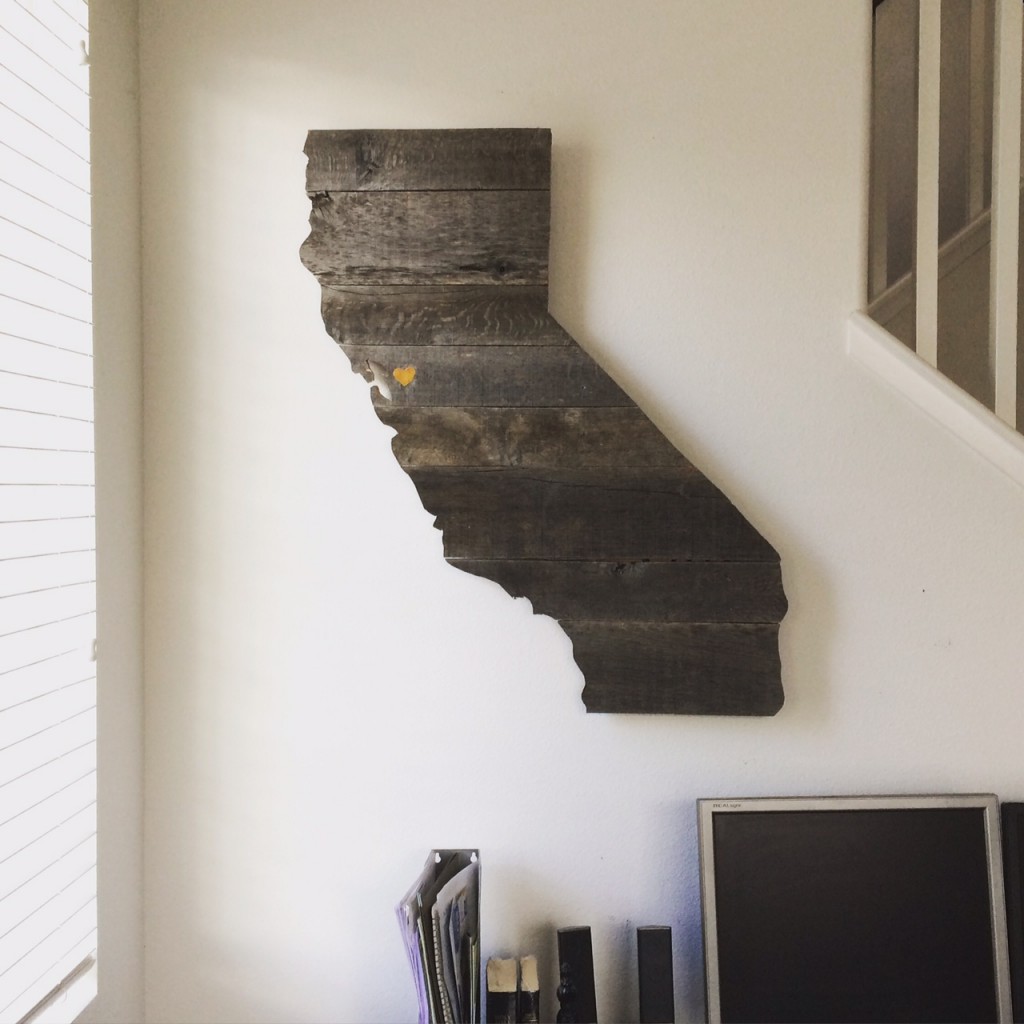
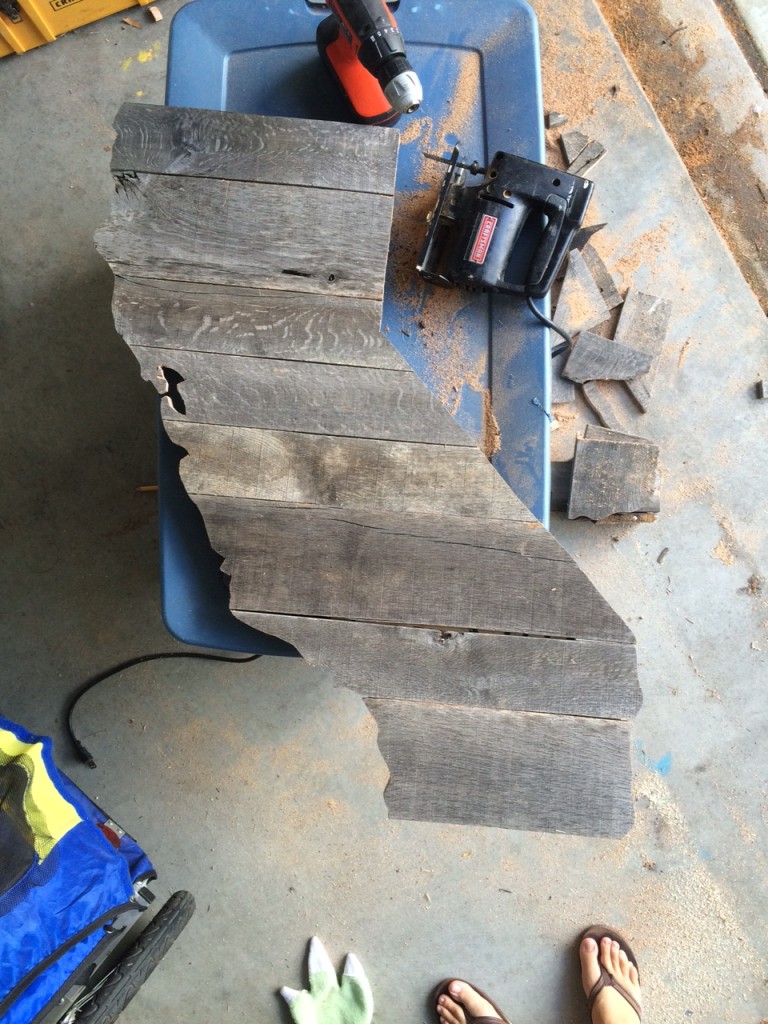
Yesterday I made this. I’ve wondered what to do with this awkward spot above the desk and next to the stairs for years. I even made a pallet project before this to fill it, but it ended up looking better somewhere else in the house. I thought I’d used up my pallet wood and tried to throw the rest of the pallet away in the trash but the garbage men wouldn’t take it! They took the wood pieces out of the trash can and put it on the sidewalk. Sooooo, I had to do something with the rest of the pieces of pallet wood. It was good wood too, just in weird, smallish pieces though. The wood had been well weathered – a process I had nothing to do with. I just let it sit in the side yard getting rained on, washed over with sprinklers and bleached out by the sun for years. Anyway, I wanted to do a little tutorial as to how I made it.
I don’t have a ton of pictures to share about the process, so I’ll have to explain it mostly. First off, I really used this website as a guideline and inspiration: http://www.manmadediy.com/users/david/posts/3456
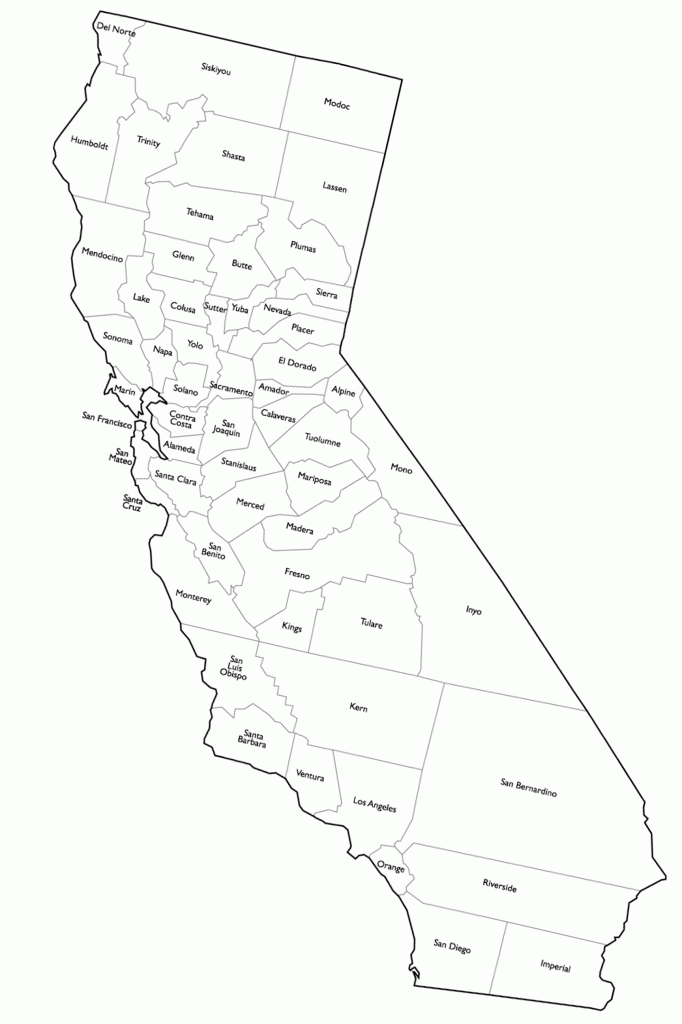
1. I had a map of CA printed on a large engineer print at Staples for like $4. You can use my map, which is 2×3 feet, but I felt like it was too small and didn’t realize it until I got home with it and put it on the wall space. At that point, I just tried to freehand an enlargement of the map I had printed out. I don’t recommend that. But here it is:
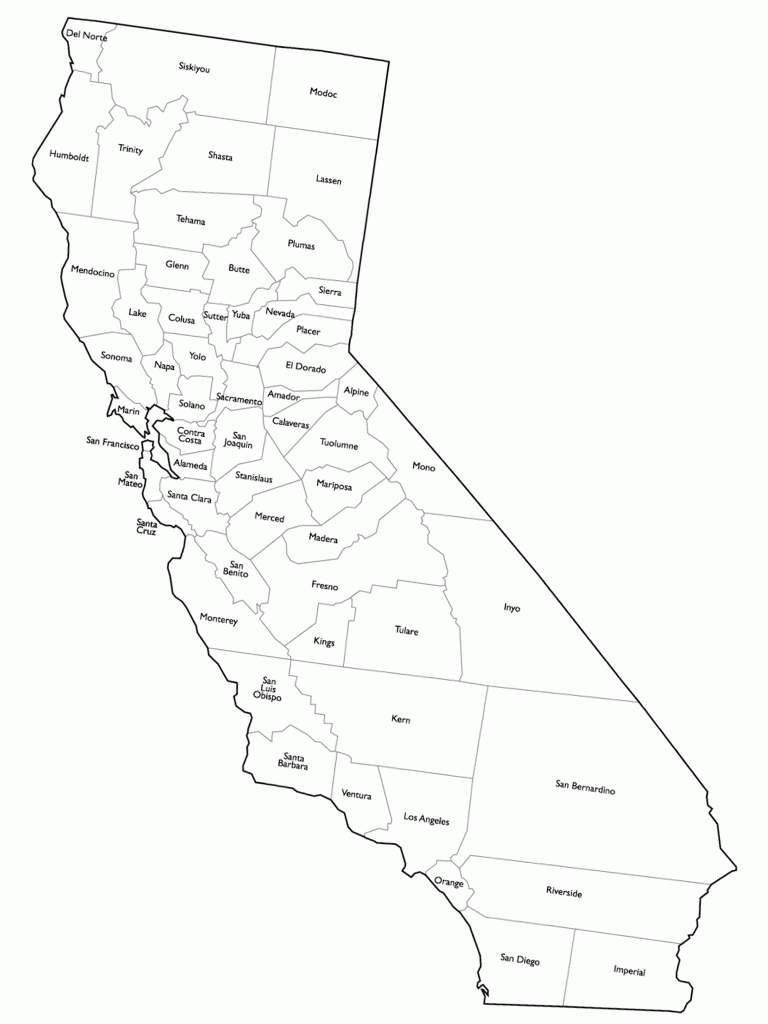
If you want something bigger, here is a 3×4 foot map:
2. Once you print out the map, cut it out.
3. Lay out all your pieces of pallet wood on the ground and situate it the way you like it. I had thick and thin pieces of pallet wood. Some were 4″ tall and some were 6″. Brush it all off and make sure it looks the way you want it and then place your cut out map on top of the wood. Once you see that it fits ….
4. Take your map off, flip all your wood over to the “wrong” side (or the side you want on back) and you will be working on the back side of your project from here on out. Flip your map over too now, so you’re looking at the back of the map and lay it on the wood pallets. Now trace it.
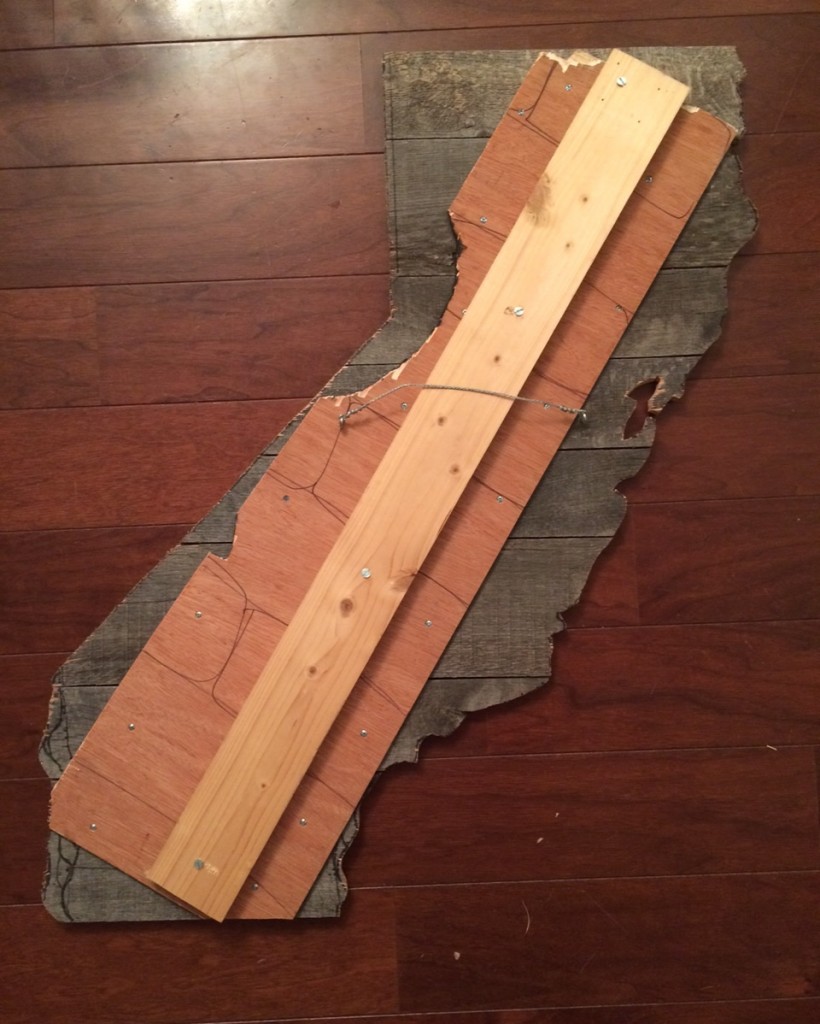
5. Take your paper map off the boards and get a piece of thin plywood (that’s what I used). Make sure your plywood is smaller than the map you drew. Cut it if you need to (I used my Skil saw for that).
6. Once your plywood is small enough to fit within the border of the map you drew, screw it into place. Make sure your screws are just long enough to go through the plywood and into the pallet boards without coming through the front side of the pallet boards.
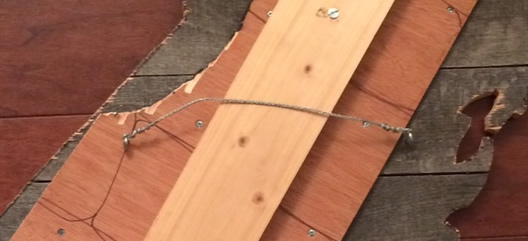
7. My plywood was pretty flimsy, so I used a 1×4 pinewood board to stabilize it. I just screwed that into the back also (see picture above – the picture above was taken at the end, after I had already cut everything out, but at this point in the steps, you haven’t cut out your map yet).
8. Now you cut out the traced map with a jigsaw. There are few tight turns on the CA border, especially the San Francisco bay area and I had to use my drill to make holes and then insert the jigsaw blade into those holes and keep cutting. I also cut it in sections. Sometimes I came at different portions from another angle. If you need to know how, I watched a few videos on YouTube about how to use a jigsaw. Very informative.
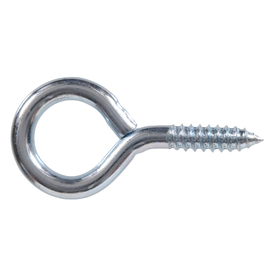
9. The pallet wood I used was pretty heavy, so to hang it, I used two hook eye screws and screwed them in at an even level, then wrapped a wire between them. Below is a picture of a hook eye screw:
California is an awkward shape, so to make sure it hung correctly, I had to put the wire and hook eye screws pretty far down on the state, about halfway down, and not high at the top.
10. And that’s it! You can sand it if you want (I didn’t) or stain it (I didn’t) or paint it (I didn’t), but don’t let that stop you. If I didn’t love the patina the wood I had, I would’ve stained it.
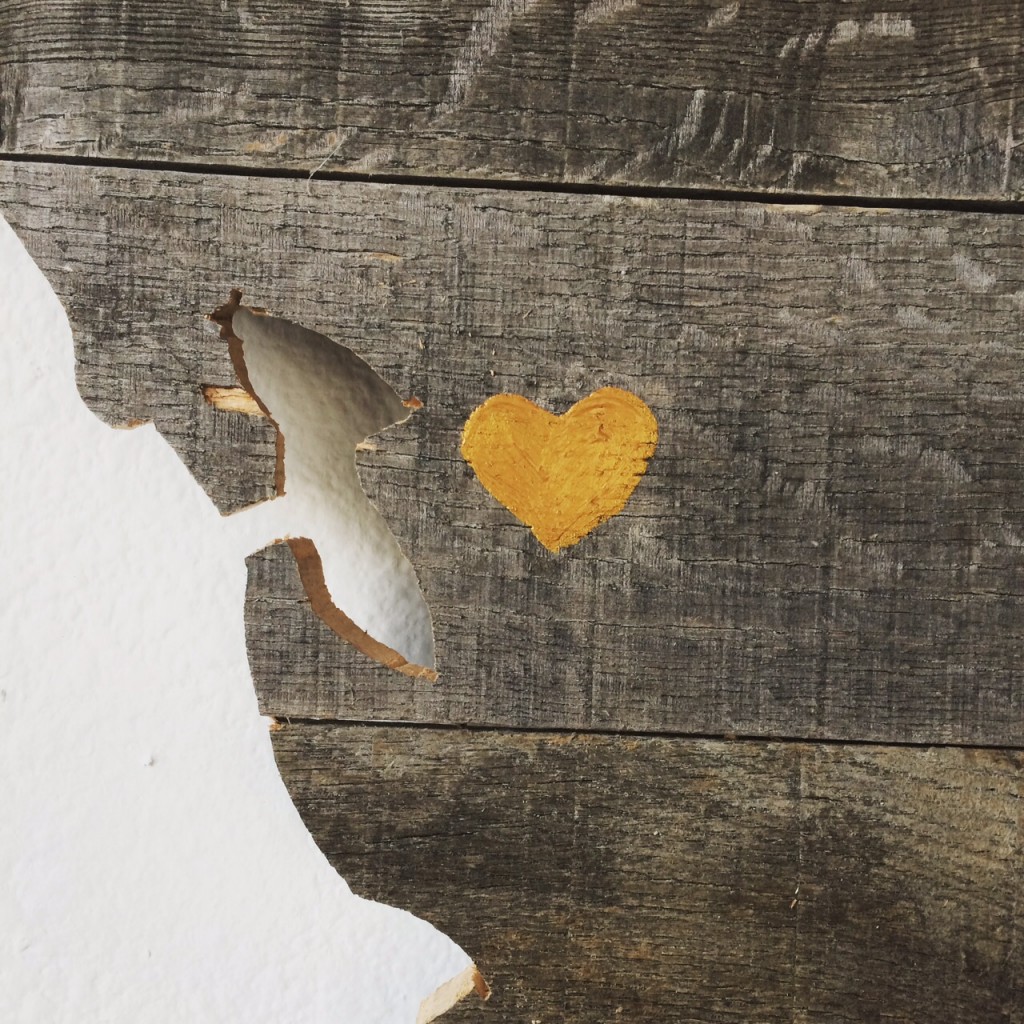
At the end, I freehand painted a gold heart over the Bay Area where I grew up.
I really liked this project. It was pretty easy and problem free. It was meant to be rustic looking, so a few imperfections are desired. Fun project. There you go, make one yourself now!

