California art

IMG_6413

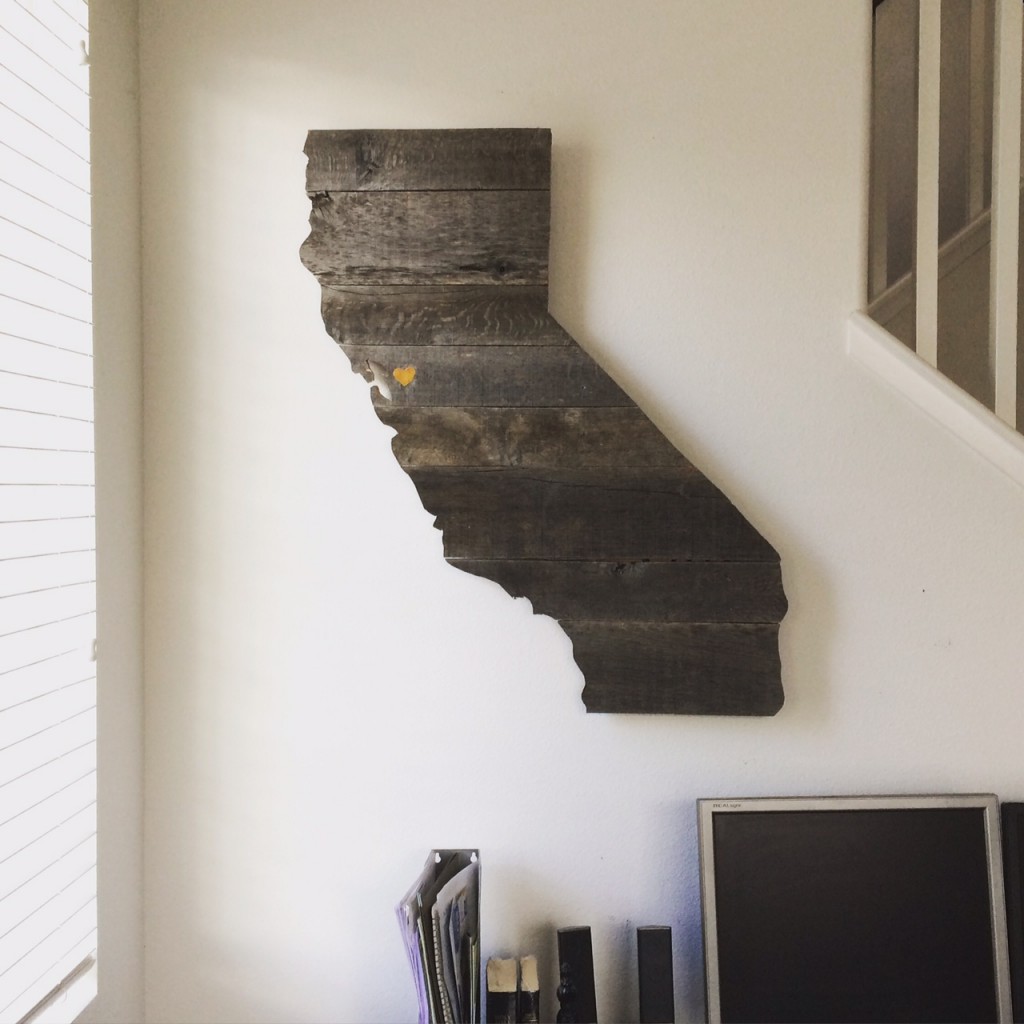
Yesterday I made this. I’ve wondered what to do with this awkward spot above the desk and next to the stairs for years. I even made a pallet project before this to fill it, but it ended up looking better somewhere else in the house. I thought I’d used up my pallet wood and tried to throw the rest of the pallet away in the trash but the garbage men wouldn’t take it! They took the wood pieces out of the trash can and put it on the sidewalk. Sooooo, I had to do something with the rest of the pieces of pallet wood. It was good wood too, just in weird, smallish pieces though. The wood had been well weathered – a process I had nothing to do with. I just let it sit in the side yard getting rained on, washed over with sprinklers and bleached out by the sun for years. Anyway, I wanted to do a little tutorial as to how I made it.

I don’t have a ton of pictures to share about the process, so I’ll have to explain it mostly. First off, I really used this website as a guideline and inspiration: http://www.manmadediy.com/users/david/posts/3456

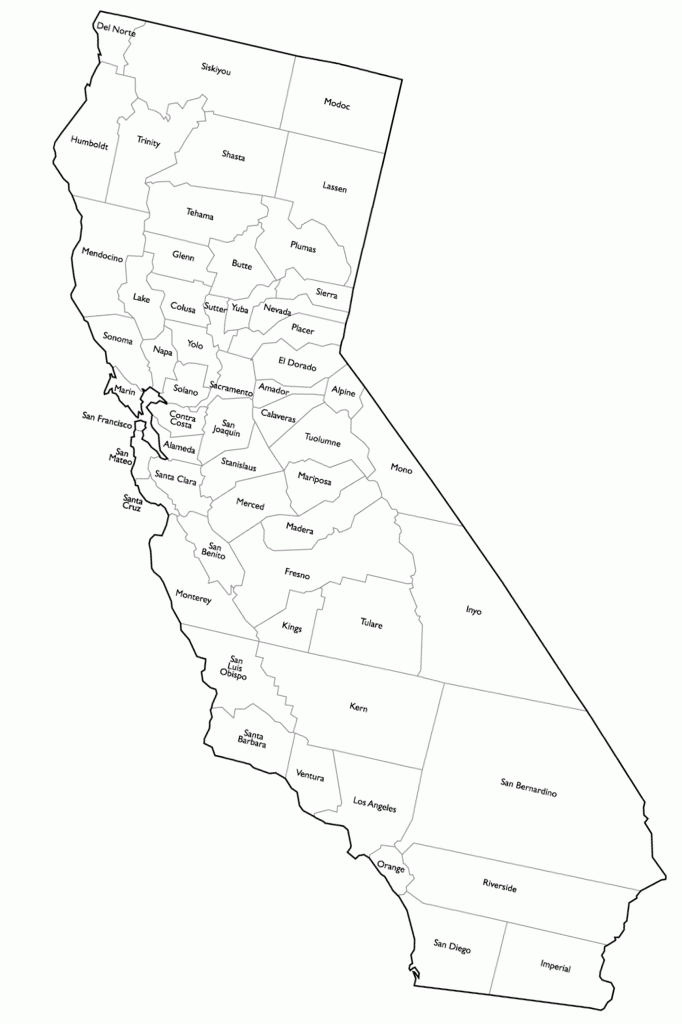
1. I had a map of CA printed on a large engineer print at Staples for like $4. You can use my map, which is 2×3 feet, but I felt like it was too small and didn’t realize it until I got home with it and put it on the wall space. At that point, I just tried to freehand an enlargement of the map I had printed out. I don’t recommend that. But here it is:

california

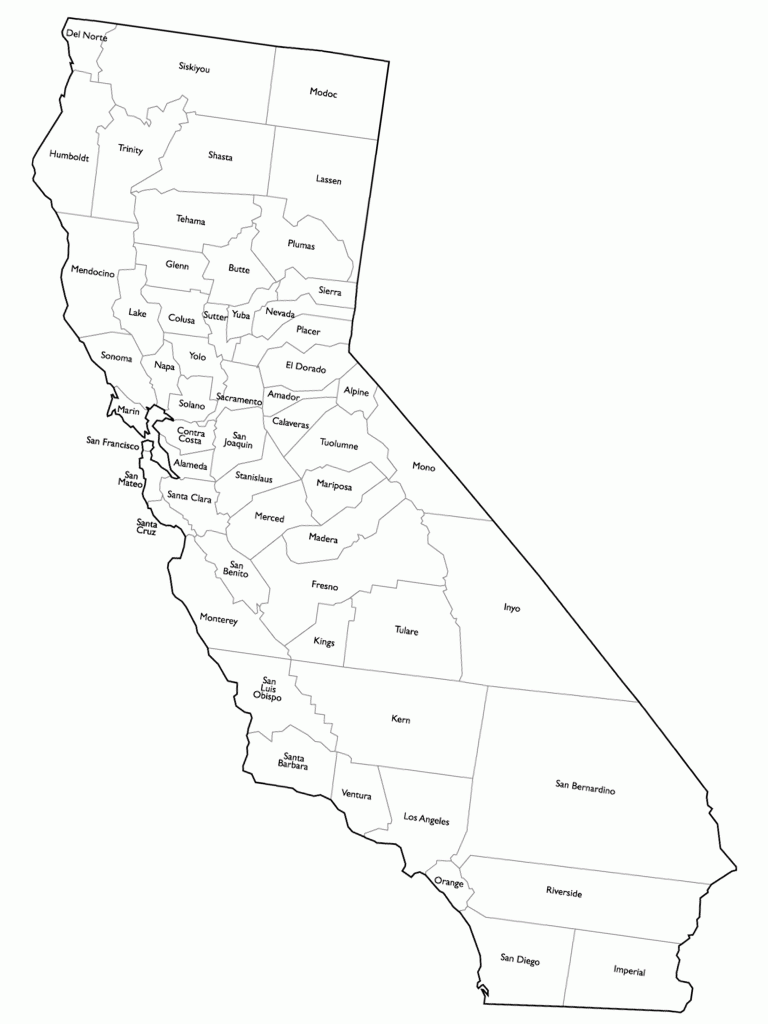
If you want something bigger, here is a 3×4 foot map:

California5

2. Once you print out the map, cut it out.

3. Lay out all your pieces of pallet wood on the ground and situate it the way you like it. I had thick and thin pieces of pallet wood. Some were 4″ tall and some were 6″. Brush it all off and make sure it looks the way you want it and then place your cut out map on top of the wood. Once you see that it fits ….

4. Take your map off, flip all your wood over to the “wrong” side (or the side you want on back) and you will be working on the back side of your project from here on out. Flip your map over too now, so you’re looking at the back of the map and lay it on the wood pallets. Now trace it.

5. Take your paper map off the boards and get a piece of thin plywood (that’s what I used). Make sure your plywood is smaller than the map you drew. Cut it if you need to (I used my Skil saw for that).

6. Once your plywood is small enough to fit within the border of the map you drew, screw it into place. Make sure your screws are just long enough to go through the plywood and into the pallet boards without coming through the front side of the pallet boards.

IMG_6415_altered

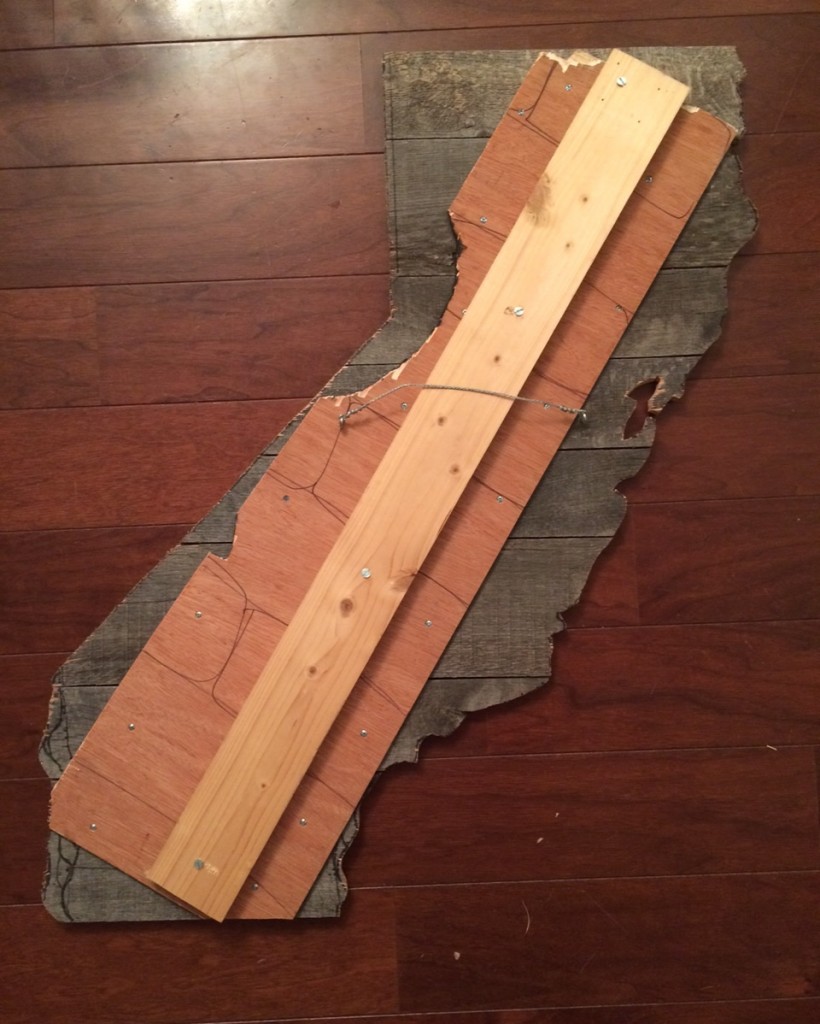
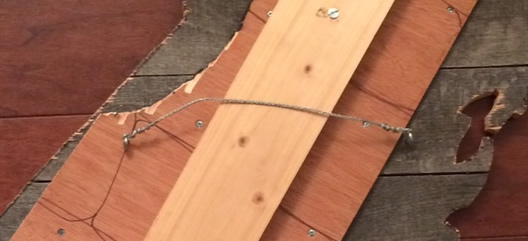
7. My plywood was pretty flimsy, so I used a 1×4 pinewood board to stabilize it. I just screwed that into the back also (see picture above – the picture above was taken at the end, after I had already cut everything out, but at this point in the steps, you haven’t cut out your map yet).

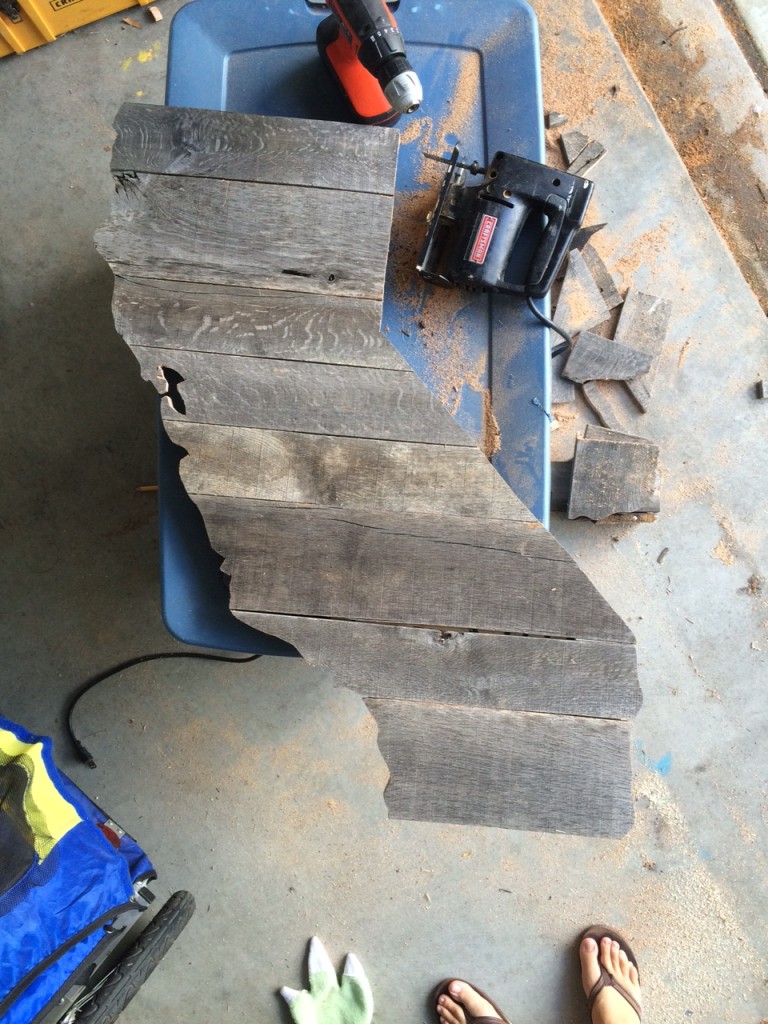
8. Now you cut out the traced map with a jigsaw. There are few tight turns on the CA border, especially the San Francisco bay area and I had to use my drill to make holes and then insert the jigsaw blade into those holes and keep cutting. I also cut it in sections. Sometimes I came at different portions from another angle. If you need to know how, I watched a few videos on YouTube about how to use a jigsaw. Very informative.

IMG_6407

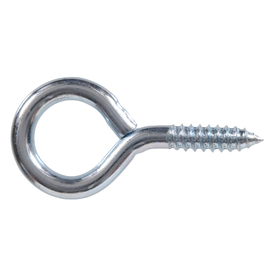
9. The pallet wood I used was pretty heavy, so to hang it, I used two hook eye screws and screwed them in at an even level, then wrapped a wire between them. Below is a picture of a hook eye screw:

008236592238lg

California is an awkward shape, so to make sure it hung correctly, I had to put the wire and hook eye screws pretty far down on the state, about halfway down, and not high at the top.

IMG_6415_back

10. And that’s it! You can sand it if you want (I didn’t) or stain it (I didn’t) or paint it (I didn’t), but don’t let that stop you. If I didn’t love the patina the wood I had, I would’ve stained it.

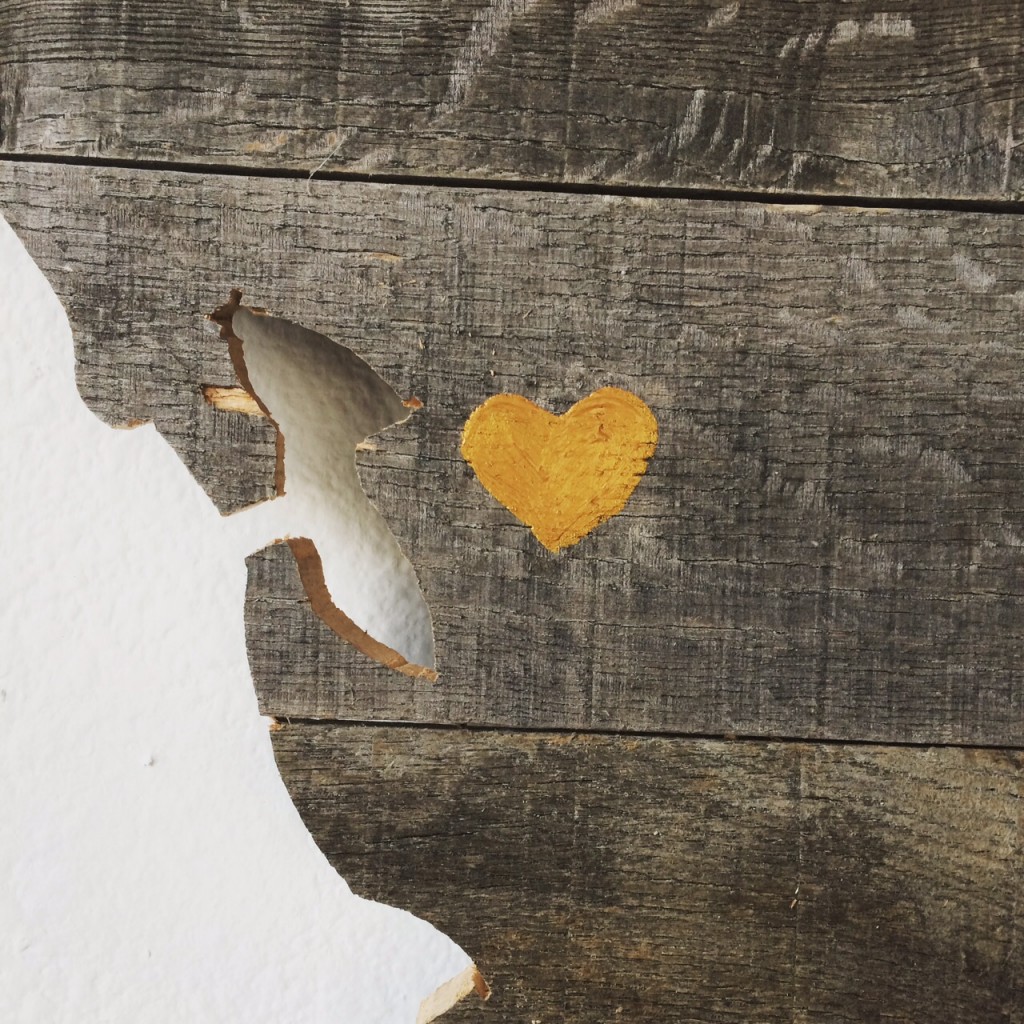
At the end, I freehand painted a gold heart over the Bay Area where I grew up.

IMG_6414

I really liked this project. It was pretty easy and problem free. It was meant to be rustic looking, so a few imperfections are desired. Fun project. There you go, make one yourself now!

the guest room

IMG_5802-1

There are a couple rooms in my house that I love. They are usually the ones that are less used. So I will clean them up and organize them and decorate them and they stay that way for a while because hardly anyone goes in there to mess it up. Ray’s room is one of those rooms. Much to my dismay, Ray doesn’t spend a lot of time in his room, except for when he’s sleeping. I worked so hard to make it cute and fun and everything at his eye level and …. he never hangs out in there. sigh.

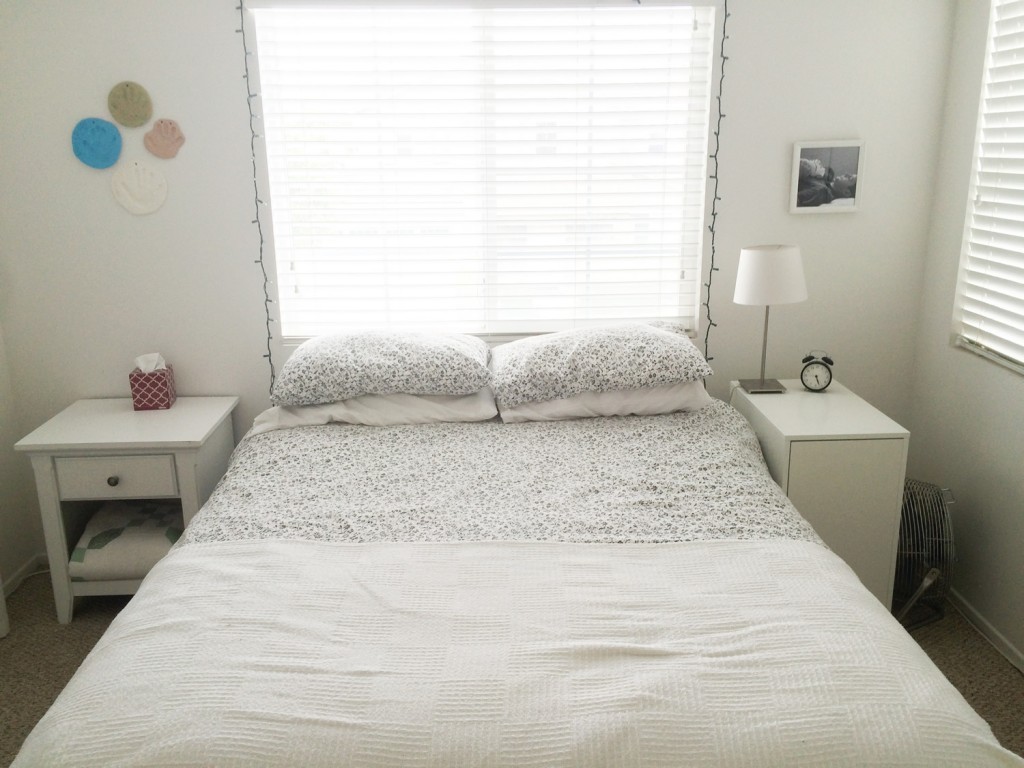
The guest room is another one of those rooms. It’s really my craft room, so whenever it gets messed up it’s because I did it :) I cleaned up the guest room from a recent project explosion in there because Ian is coming to visit next week for the whole week. I can’t wait. I really love Ian. He is Daniel’s youngest brother. He’s fun and cool and easy to be with. Also, I know the boys will love having Uncle Ian around.

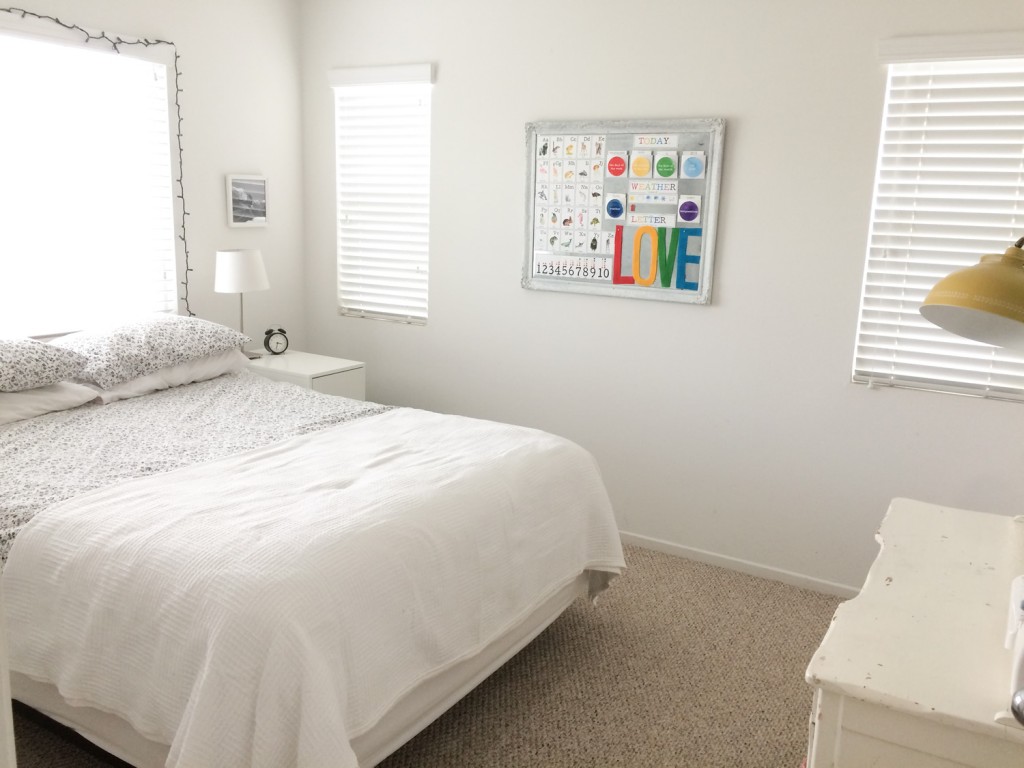
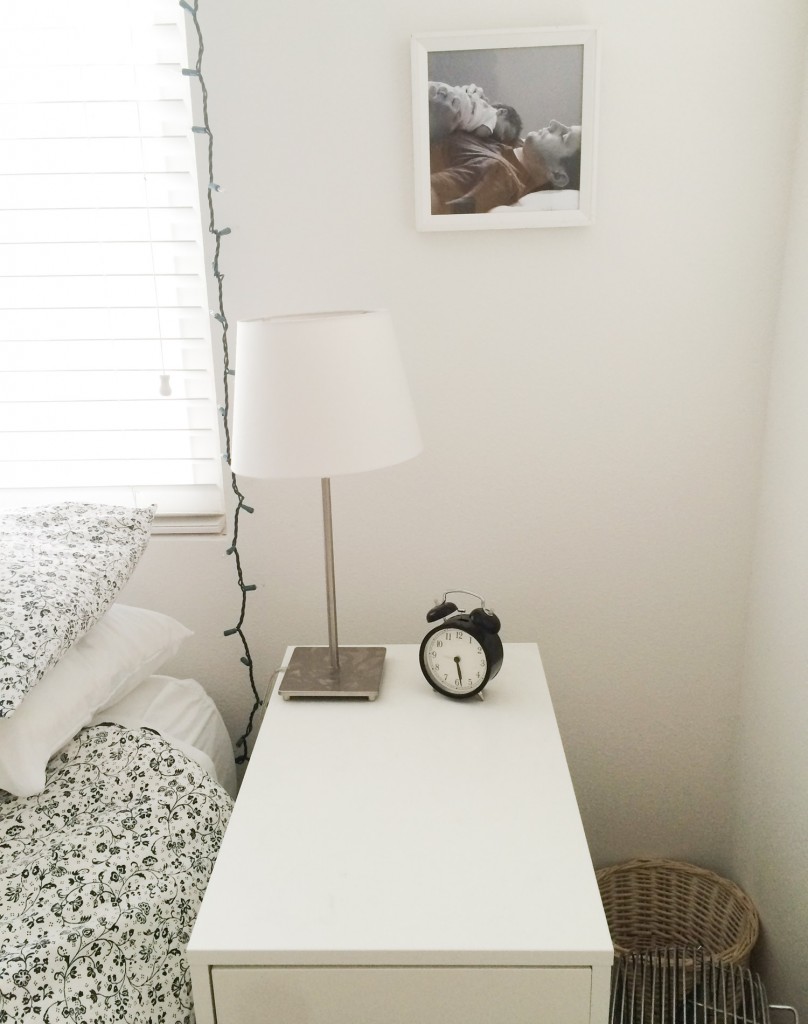
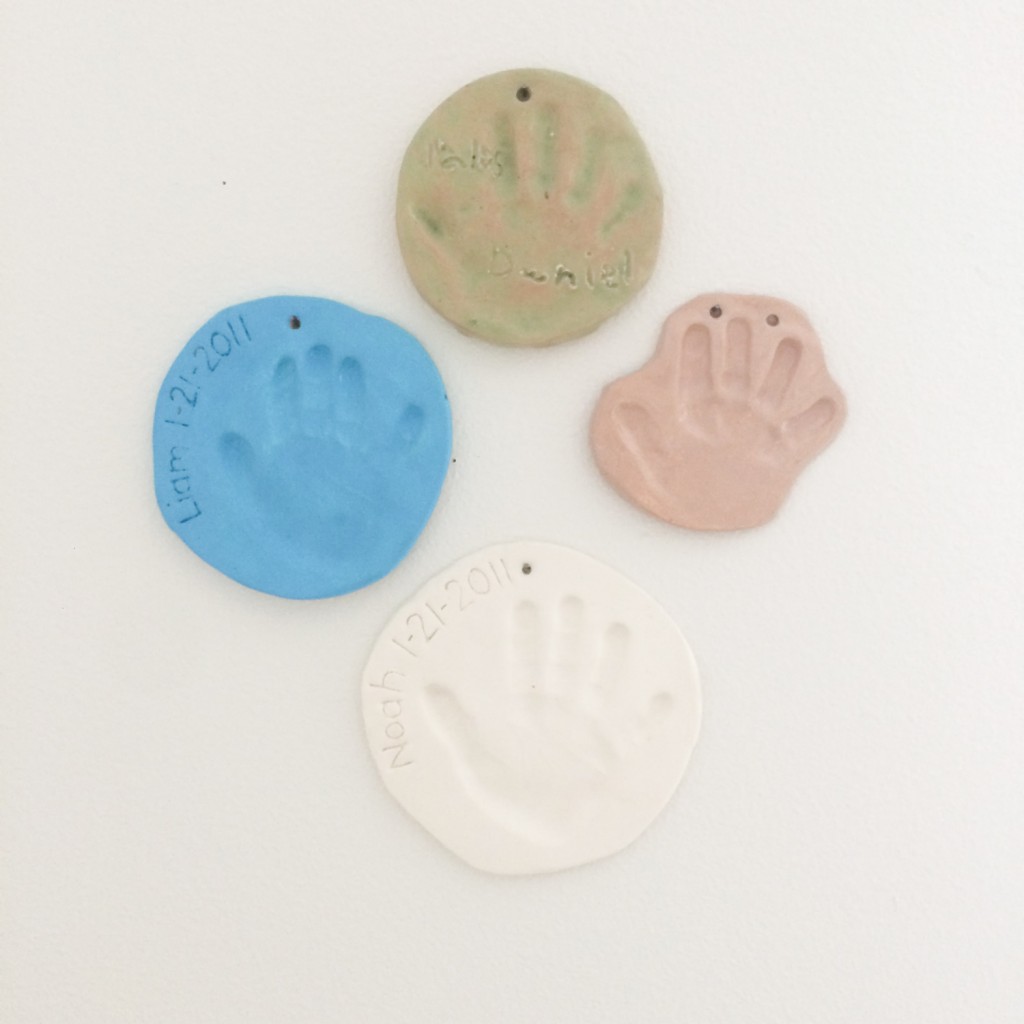
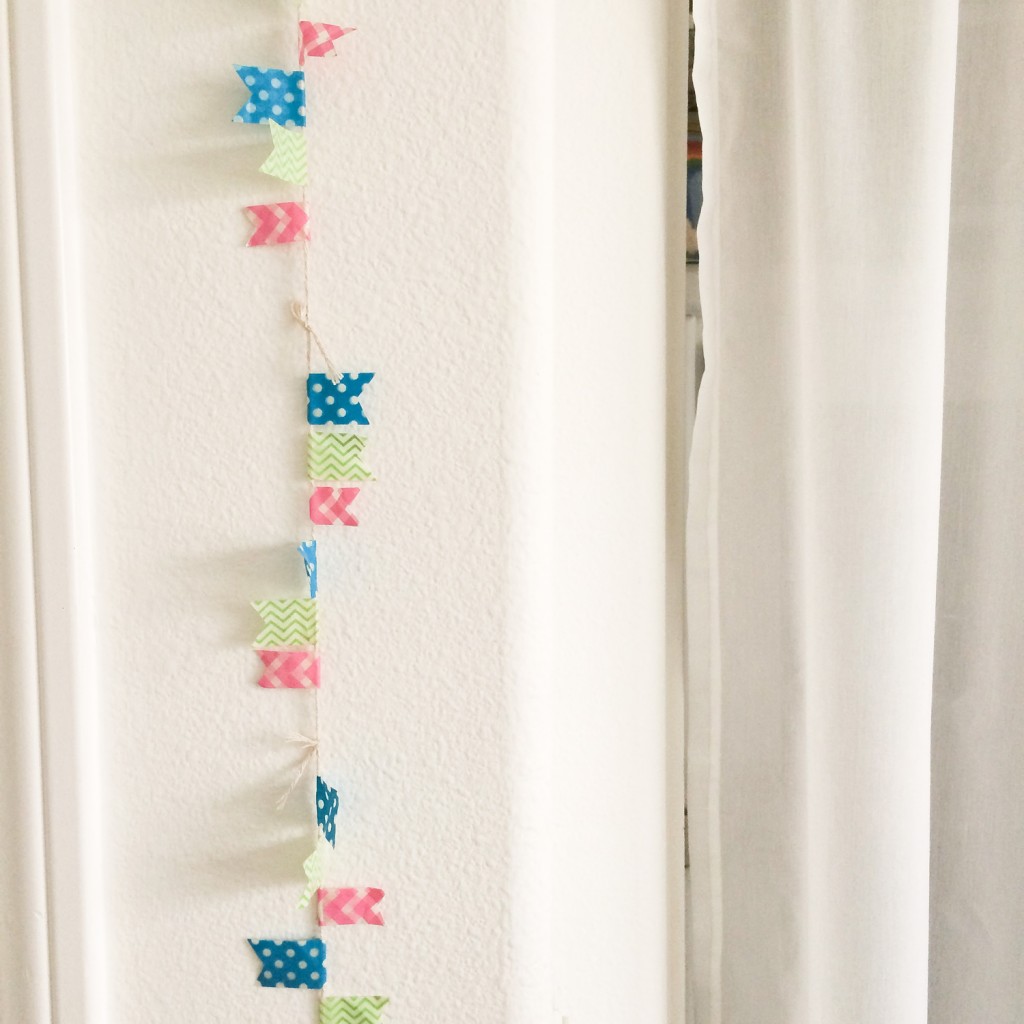
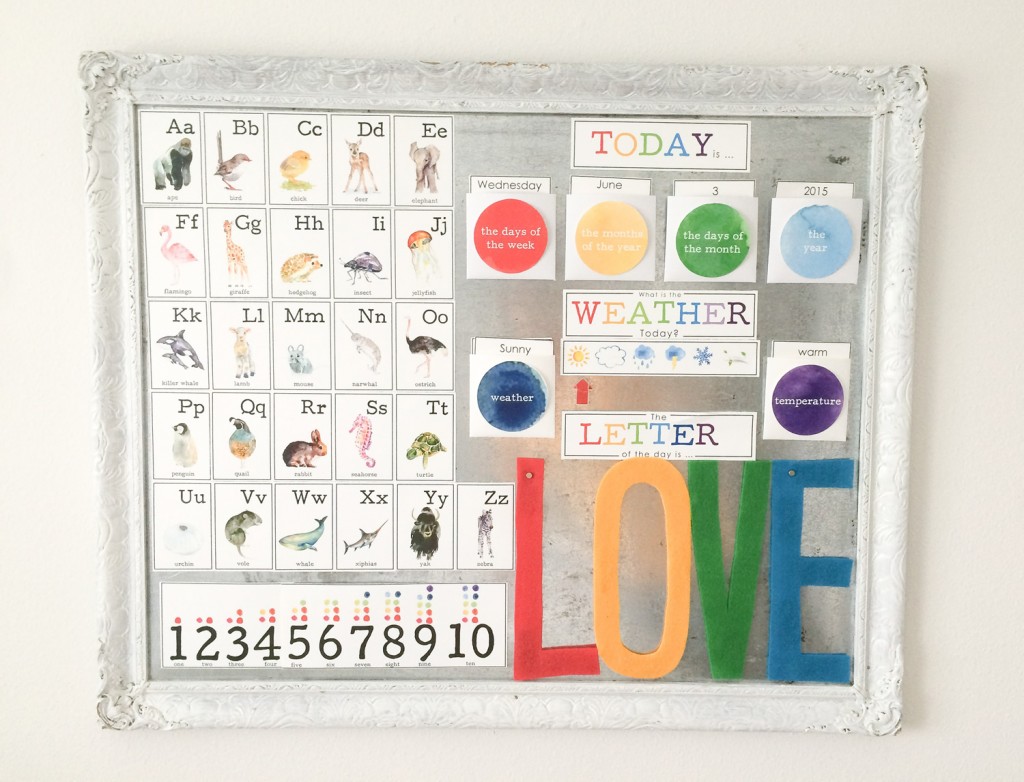
Since I feel the need to document things once I clean them … I did it again here. I will tell you why I love this little room – because it’s mostly white with lots of pops of color everywhere. It has meaningful things in the room too. Like the stool I sit on while sewing is an old piano stool that my Great Aunt Si used. The yellow lamp in this room was a lucky find at a thrift store. The handprints on the wall are Daniel’s from when he was 5 and 6 and then Noah’s and Liam’s. The photo above the nightstand is of Daniel holding Ray when he was a baby and they were both sleeping. The tiny flags on the small wall by the door are flags that Christina made. She used them to decorate a box of food that she and Aria gave me on the first day I moved to southern CA to live here. The magnetic board on the wall is one I framed from an old frame I found on the side of the road in MI and I covered the board with our daily preschool stuff – the alphabet, weather and date. There’s so much love in this room. It’s so specific to me too. I just love having people come stay in it. I hope they feel it.

IMG_5803-1

IMG_5804-1

IMG_5808-1

IMG_5807-1

IMG_5805-1

IMG_5806-1

Christmas Decor

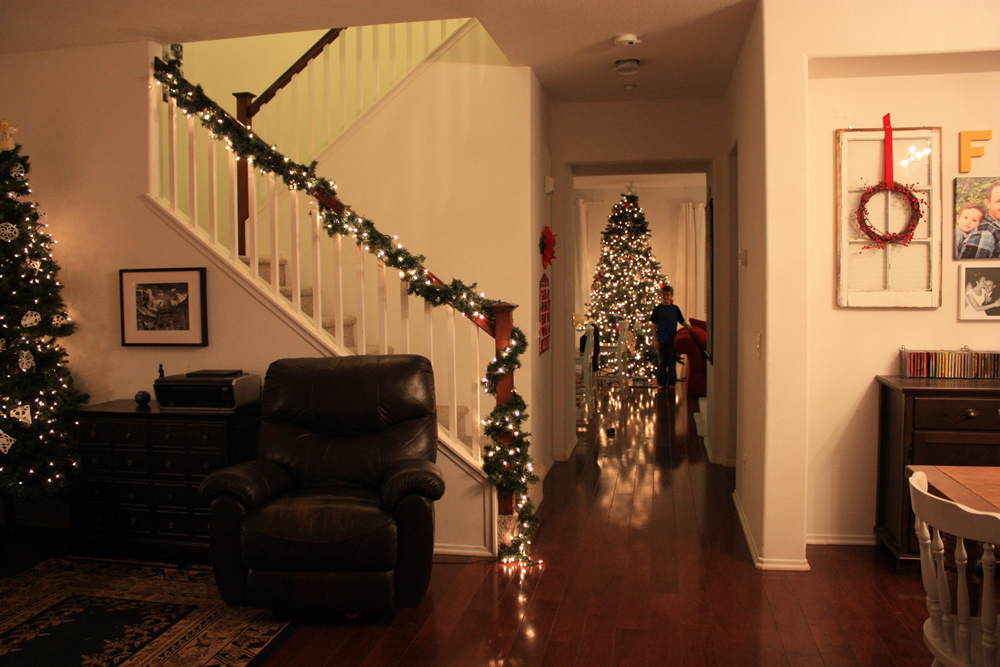
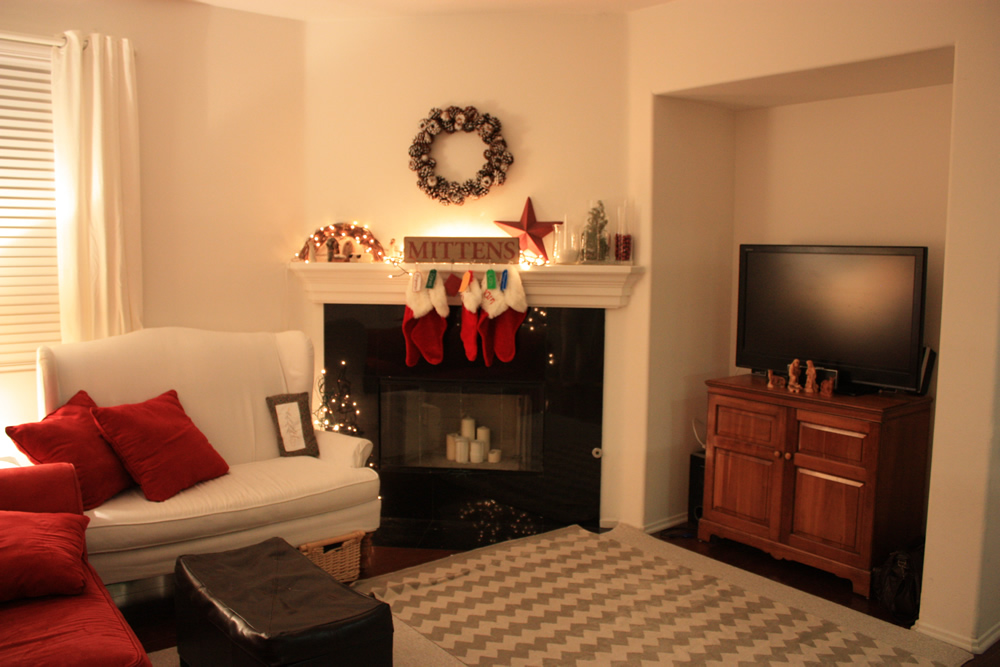
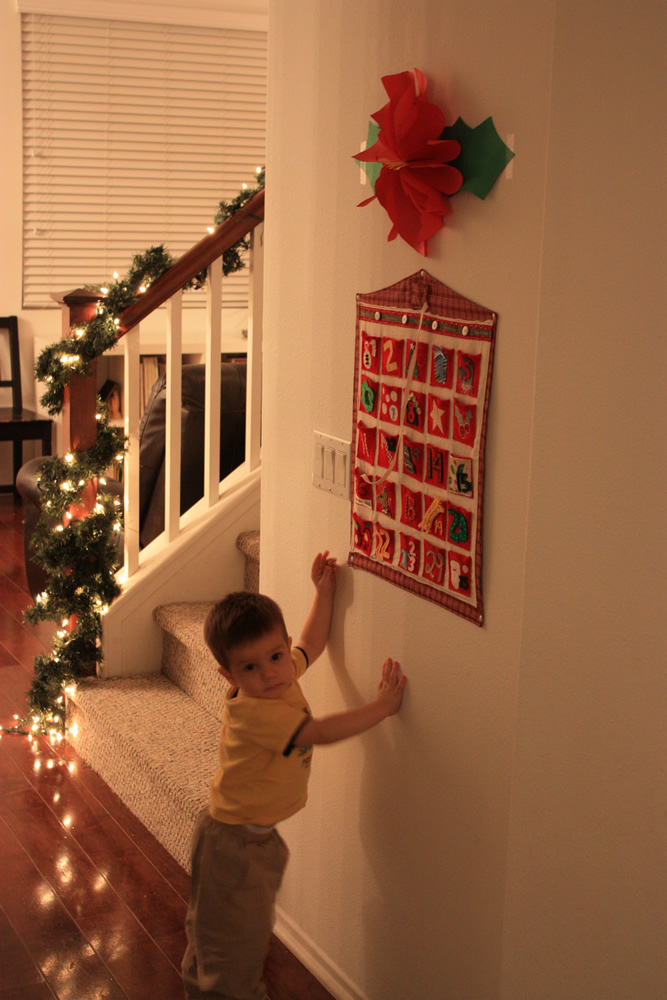
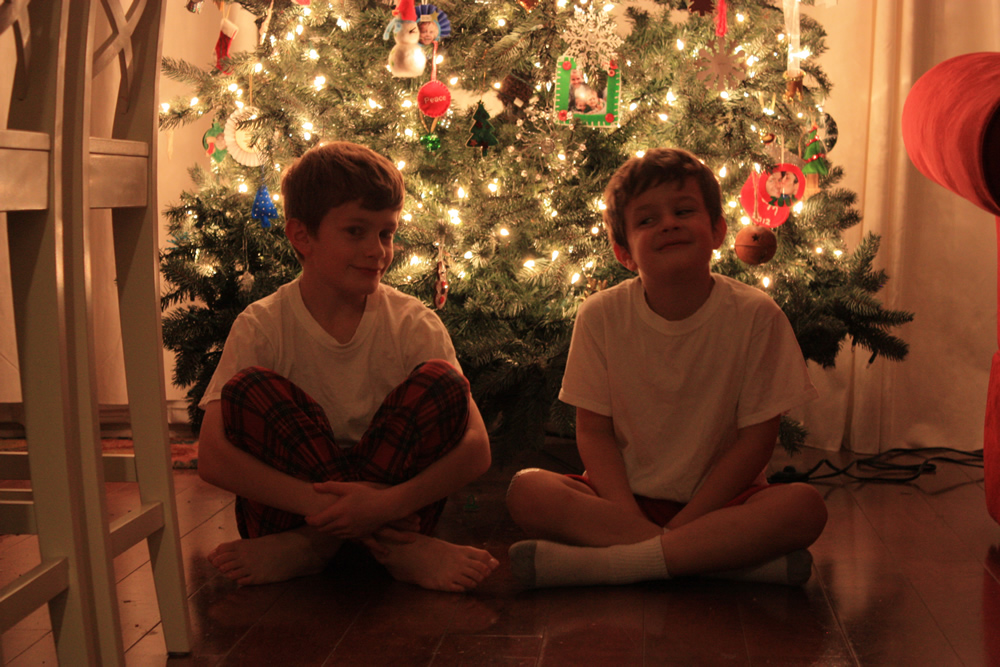
I always decorate for Christmas. I love it. It’s part of what makes Christmas fun. I usually do it the day after Thanksgiving. I pull out the plastic bins of decorations, crank up some Carpenter’s Christmas music and set up my house – fill it with Christmas cheer, if you will. Here’s this year’s decorations:


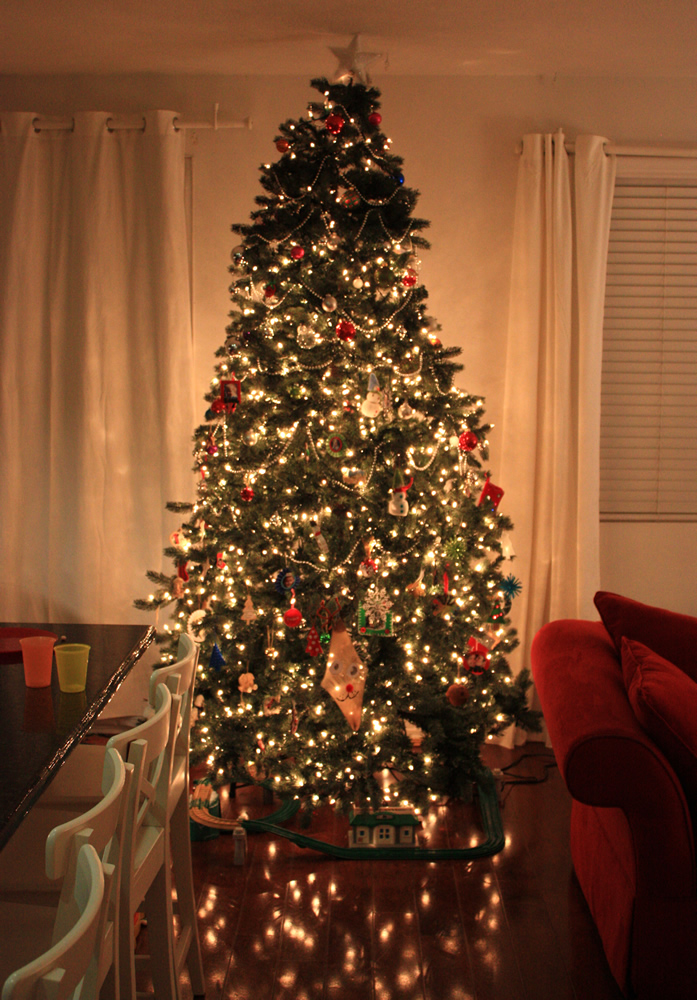
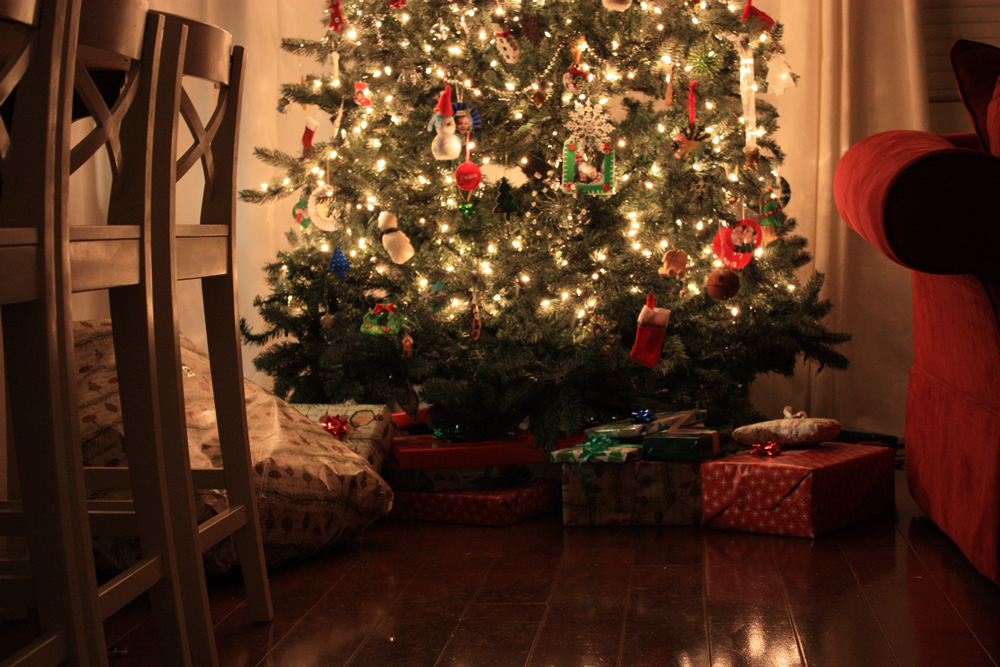
We got this tree from the Clark’s. Our little fake tree is a modest (skinny) 6.5 foot tree. It worked nicely in the past, in our tiny MI home, but this year, we have 9 foot ceilings and our house is twice the size. So, when Christina called me and said she just picked up a free, 9 foot, pre-lit, Costco tree and wondered if I wanted to use it this year – I leapt at the chance! This is the free tree she found on Craigslist. She would have used it herself, but their ceilings wouldn’t allow it :)

Before Santa came:

After:

The settee

Wha? I don’t have enough to do?? OK, I guess I’ll get on another project or two …. and then I did.

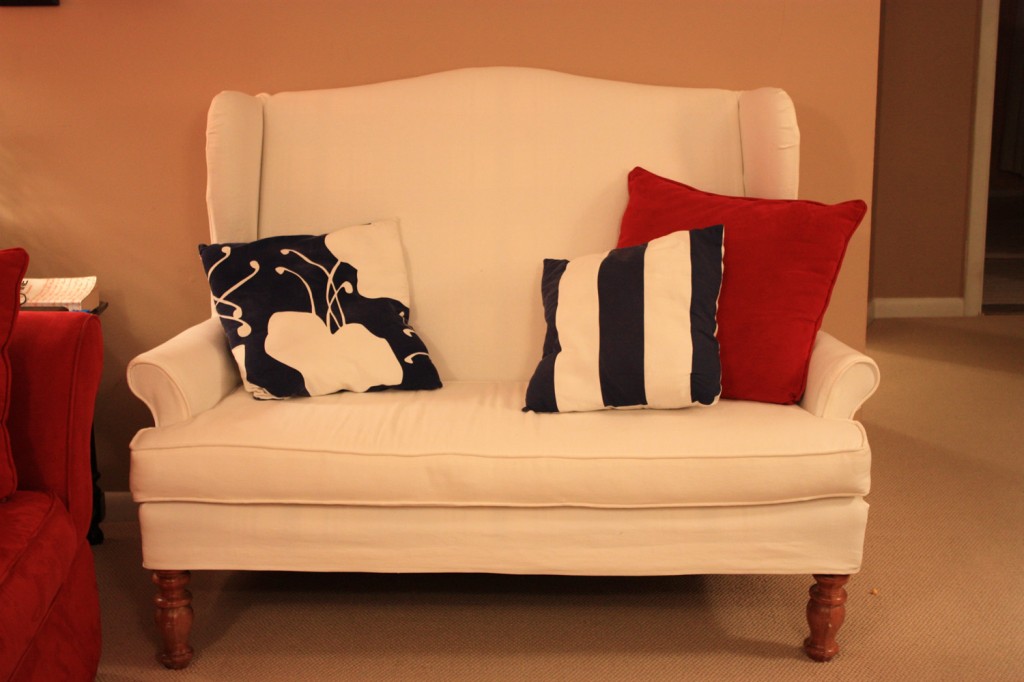
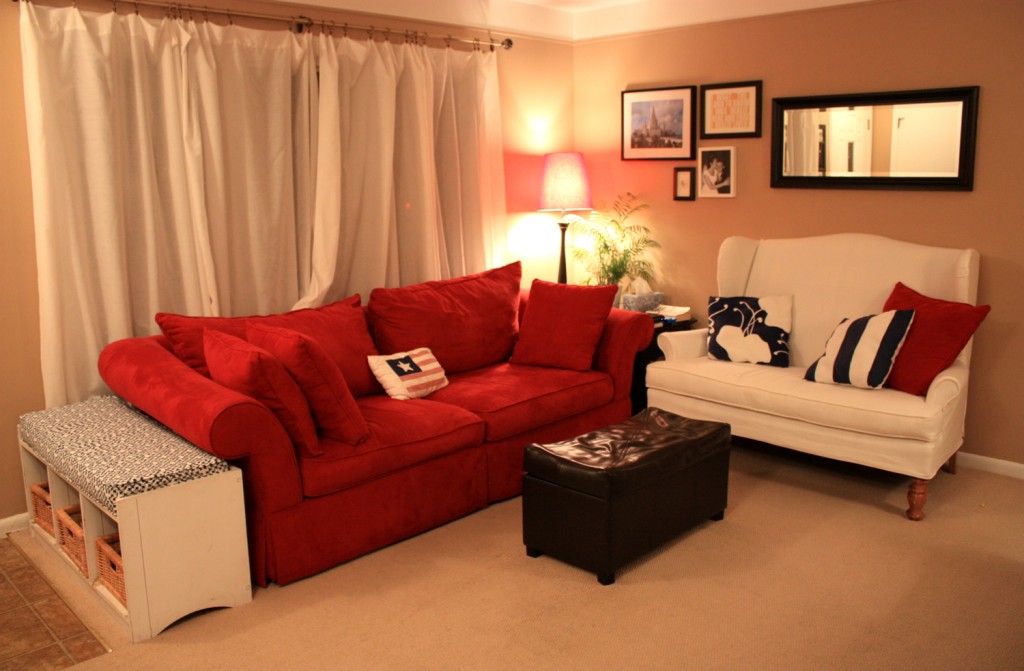
I recently reupholstered my settee. It was plaid before, with very worn edges. My mom gave it to me about 5 years ago and before that, mom had it for about 5 years, so it had gotten some love over time and needed a boost. So I gave it one by making a slipcover in white. yes. white. I did it. I’m crazy. I have 2 crazy boys with one on the way and I am purposely putting white furniture in my home. In my defense, it is a slicover, so that means I can take it off anytime and wash the whole thing. It’s actually pretty durable material. It’s white denim and I really like how it turned out, so see for yourself … oh yeah, and I recovered my entryway bench in a blue and white geometric pattern – it used to be this tired, blue denim cover. The front room really feels brand new now. I like it.

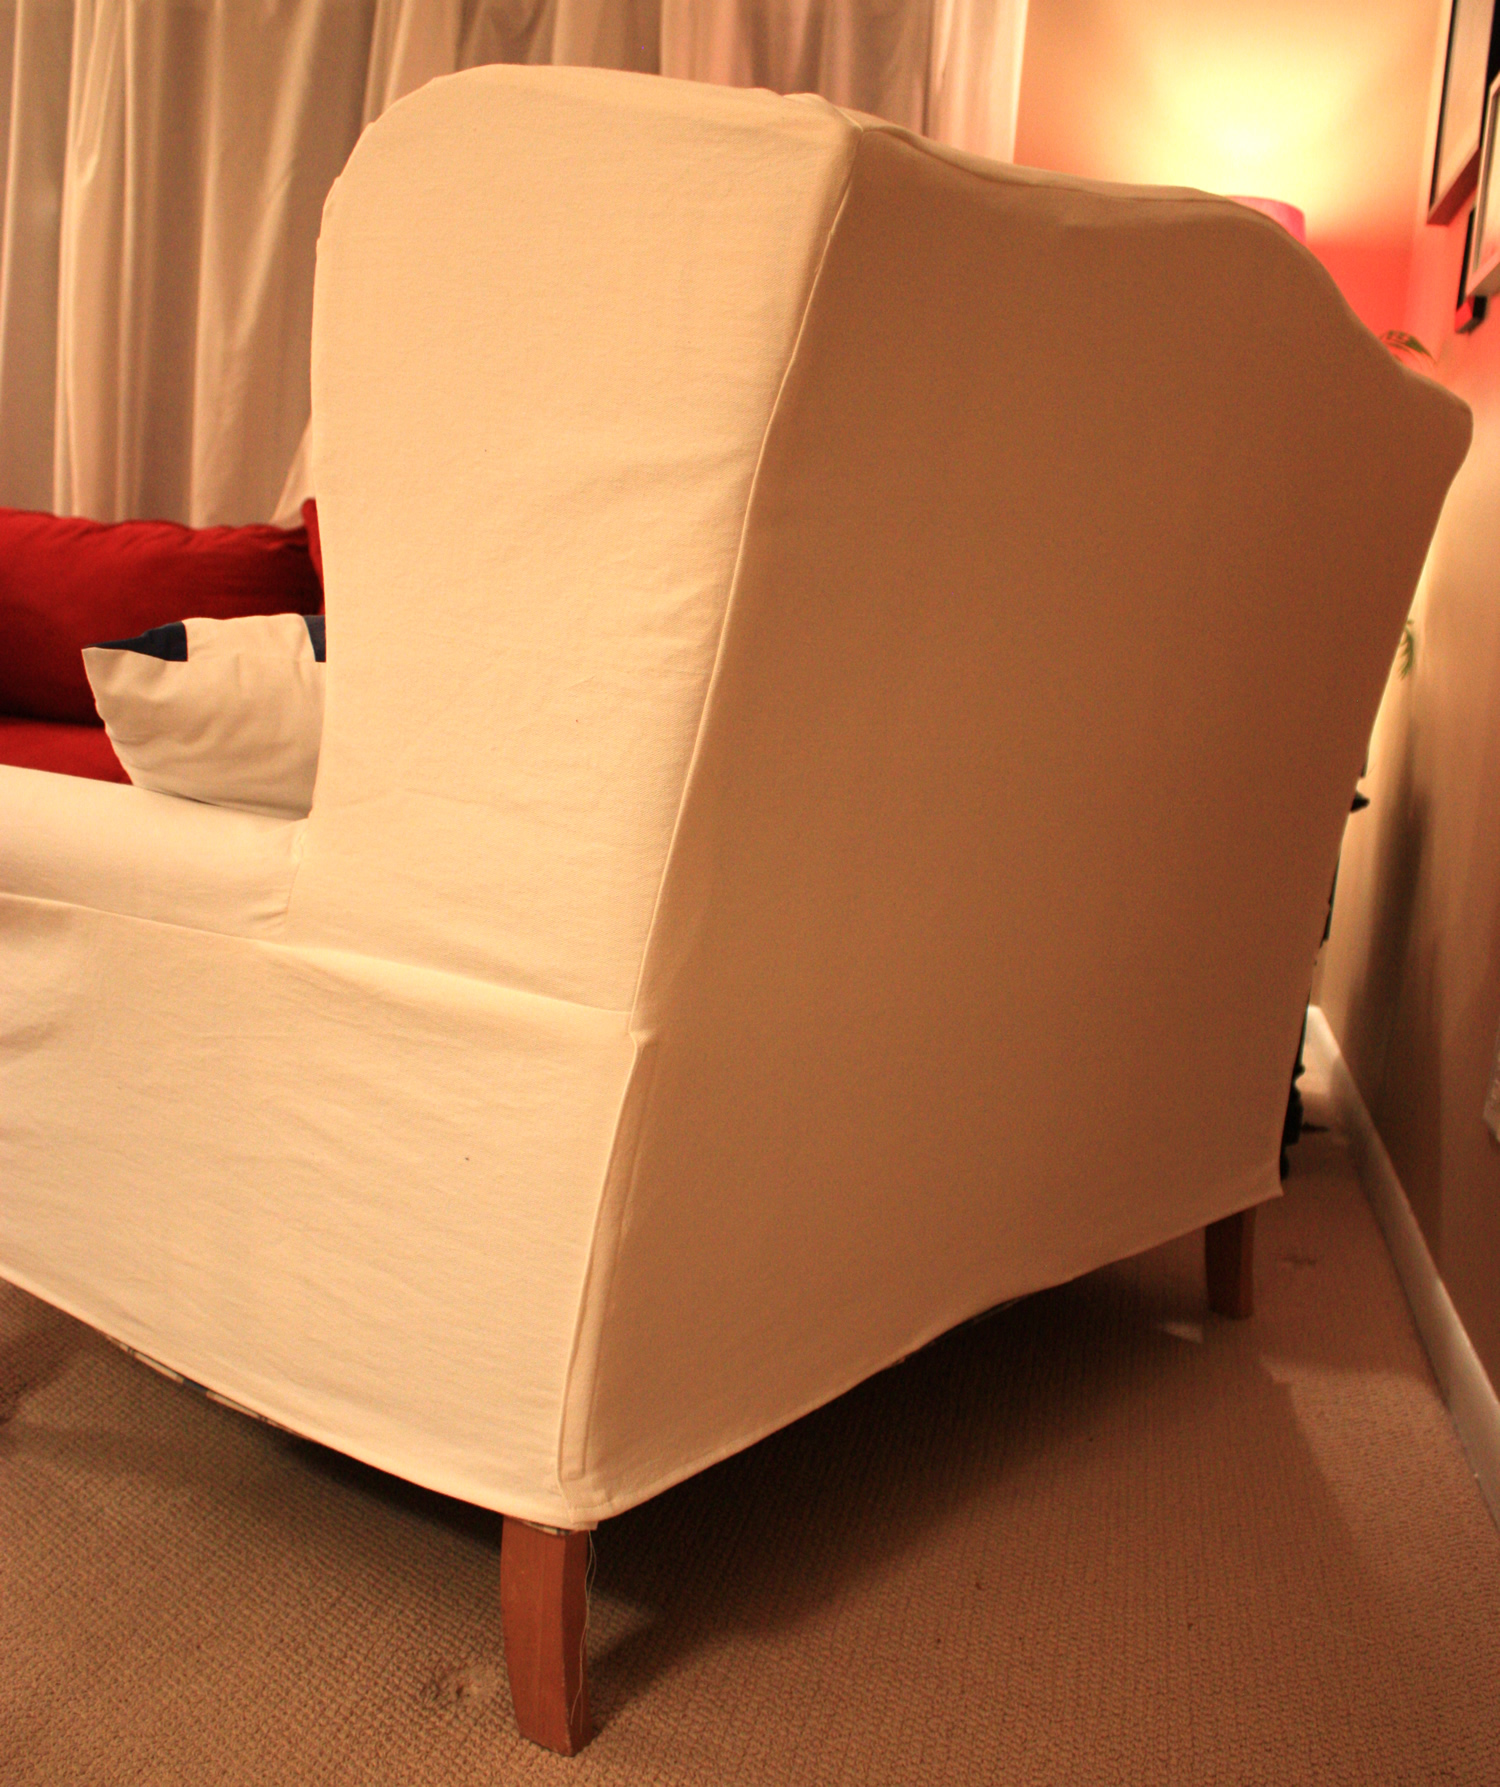
This is to show the back, where I put the velcro – can you see it?? I hope not. I made it velcro along the edge, right around the corner. It’s the bottom third of the back, so you see it now? I just un-velcro that part and pull the whole thing off for washing.

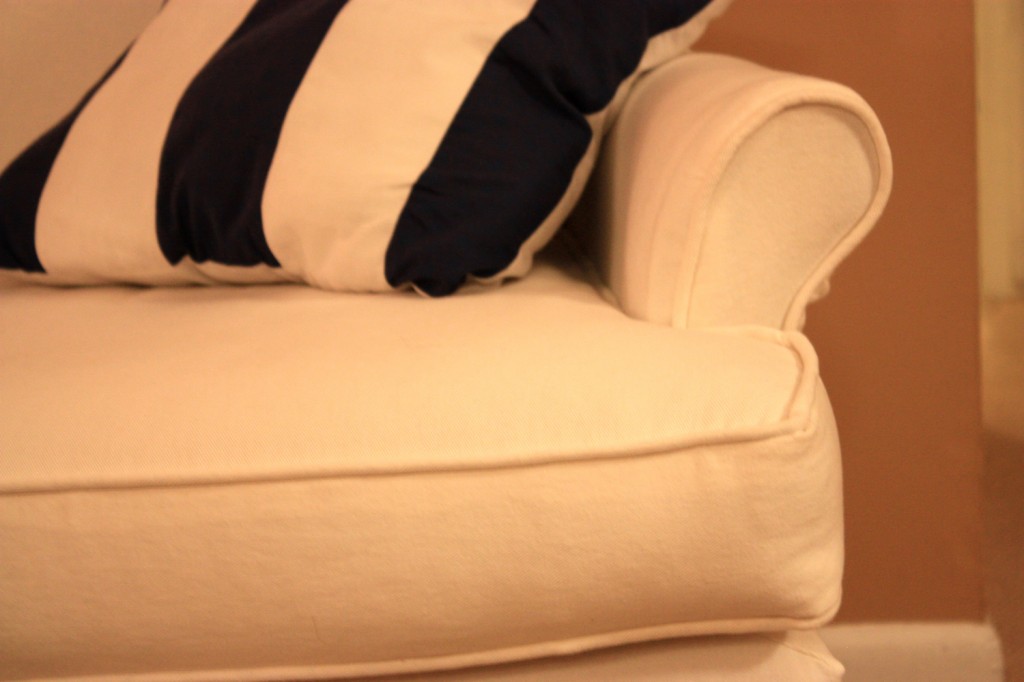
My welting job (that’s the piping). I was proud of it, especially since I had to basically do the seat cushion twice, but I am happy with how it turned out.

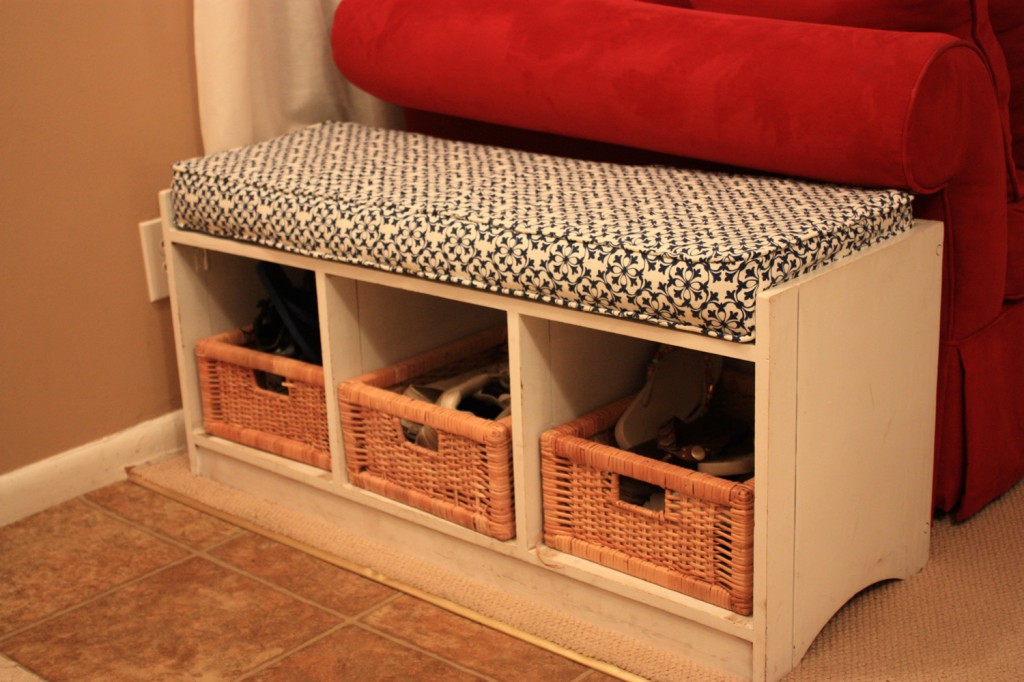
 The new covered bench … it makes it more awesome to know that I scored this little bench off the side of the road in NJ, painted it white, added the IKEA baskets and then just recovered the top … I love free stuff.

Our new front room. ahhhhhhh. Do you like the red, white and blue theme we’ve got going now?? We’re so patriotic, I guess. I wasn’t really meaning for the front room to scream “happy 4th of July”, but maybe it does now … hmmmmm.